Magento + PWA Studio = High Performance! OOTB (Out Of The Box).
But please keep in mind that every custom theme/layout/template or whatever style you prefer to implement could have some minor or major drawbacks in regards to web performance.
So unless you have not read my previous blog on how to build a Lighthouse server, please do before you continue.
When it comes to using Google Lighthouse Server I think it’s possible to use two approaches:
- Basic - Using a CI server and testing your URL(s) remotely.
- Advanced - Using a CI server and testing your internally build URL(s).
For this blog, I prefer addressing the “Basic” version. The recipe is really simple: PWA Studio codebase, Lighthouse Server, Travis CI, Github account, .travis.yml and lighthouserc.yml.
And keep in mind always Design for Performance!
Summary Steps
- Install lighthouse-ci locally
- Signup and create .travis.yml file
- Create lighthouserc.yml
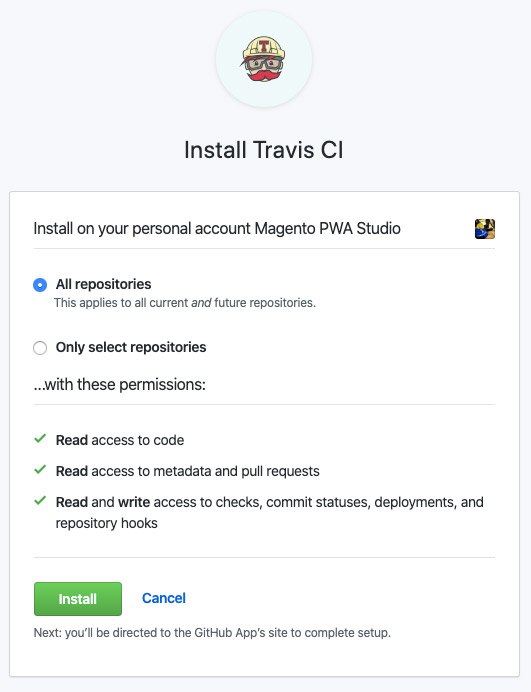
- Create LHCI_GITHUB_APP_TOKEN
- Signup at Heroku
- Install Heroku CLI
- Create Heroku config
- Run lhci wizard
- Add LHCI_TOKEN to Travis
- Update serverBaseUrl
- Push code to Git!
1. Install lighthouse-ci locally
npm install -g @lhci/cli@0.3.x
2. Signup and create .travis.yml file
language:
  - node_js
node_js:
  - '10'
addons:
  chrome: stable
before_install:
  - npm install -g @lhci/cli@0.3.x
script:
  - echo "Notice - no test specified"
after_success:
  - lhci autorun
3. Create lighthouserc.yml with the following config
ci:
  collect:
    numberOfRuns: 3
    additive: true
    url:
      - https://your-url.com/
      - https://your-url.com/catalog-page/
      - https://your-url.com/product-page/
  assert:
    lighthouse: all
    assertions:
      offscreen-images: 'on'
      uses-webp-images: 'on'
      color-contrast: 'on'
      first-contentful-paint:
        - error
        - maxNumericValue: 2000
          aggregationMethod: optimistic
      interactive:
        - error
        - maxNumericValue: 5000
          aggregationMethod: optimistic
  upload:
    target: lhci
    serverBaseUrl: https://your-app-url.herokuapp.com/
    token: $LHCI_TOKEN
4-10. Setup Steps
Follow the same steps as outlined in my previous blog post for setting up LHCI tokens, Heroku, and the wizard.
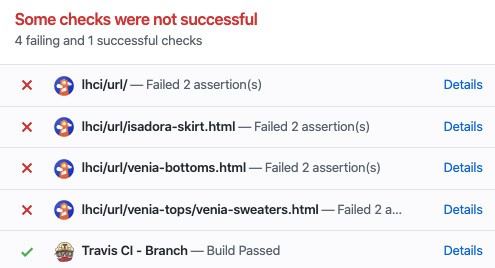
11. Push code to Git and let the magic do its thing!
git add -A && git commit -m 'LHCI first run'
git push origin master
It’s a wrap!
I hope you liked building it, well it did when prepping this.
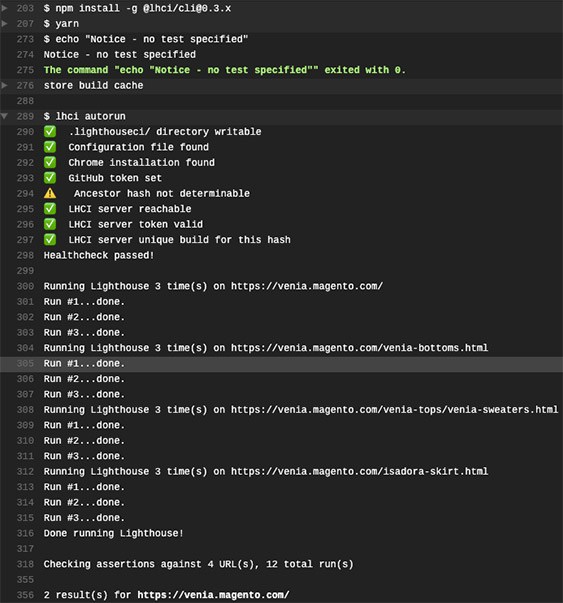
Manual LHCI autorun
lhci autorun